So when it comes to my 3 year olds work I like to keep it simple. There is no need to buy some fancy curriculum. I buy my youngest a notebook just like her older siblings. We do a lot of tracing shapes, numbers, and letters. Talking about what shapes, numbers, and letters they are. We also talk about what sounds they make. Discuss caps and lower case. I draw her a worksheet according to her need that day and go over it with her.
If she makes a mistake I don't tell her that it is wrong at this age or review errors, but tell her what a great job she did and let her put stickers on her page. If she wants to color or do what ever to her page after she did her lessons, I let her. She is proud of her school work.
Partly why I like to use this kind of notebook is so I can create the lesson each day based on what she has mastered and needs more work on. When I feel she is ready for a bit more of a challenge I put it in there.
On the picture below I put her alphabet dot to dot more in a circle.
Here I start to zigzag the dot to dot alphabet. Encouraging her to pay attention to what letters is next.
I still don't correct mistakes, but go over it with her before she begins and encourage the right pattern. On this picture the number dot to dot is making her think a little more. I help her when she ask and encourage her to try.
I don't usually let her use markers in her notebook because it goes through the paper, but everyone finds what is best for them.
I like to use a notebook because I can look over her progress throughout the year, without the mess of loose leaf paper. Notebooks are easier in my opinion.
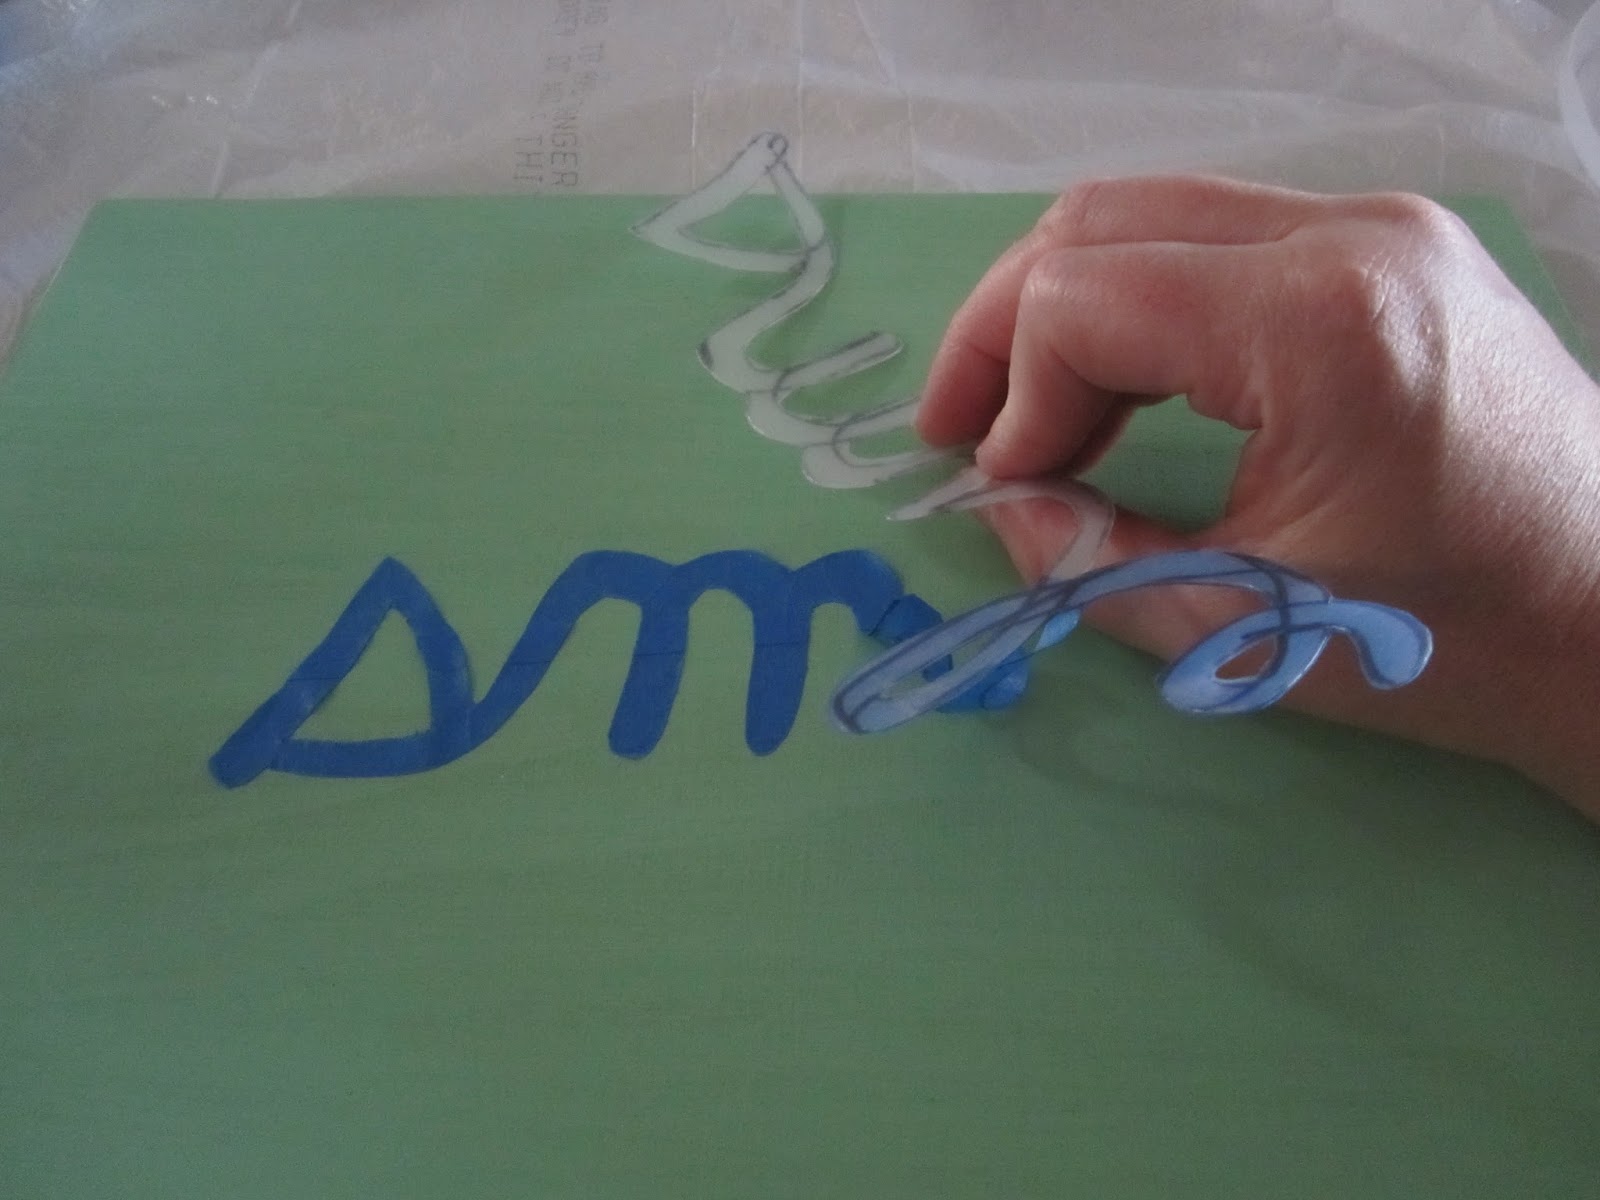
Her notebook page is her main daily assignment, then we often do a cutting page. Nothing fancy to practice cutting. I draw some lines on a construction paper because it is stiffer than regular paper. I help her learn how to open and close the scissors. We work on trying to stay on the lines. Ones she starts to understand the scissors a little bit, I let her go. She usually would try to cut on the lines and then continue cutting the paper until she had a bunch of pieces. Then we throw it away.
Eventually we did some real cutting projects.
I also did ABC flashcards and animal cards. Other simple worksheets. Hands on patterns with colorful bears. The last month of the school year she has mastered letter sounds and we have begun working on sight words. She can count at least to ten, sometimes farther. She is cutting shapes out quite well. She knew all her shapes near the beginning of the school year and colors the year before. She also recognized her name and her sisters names when spelled out. She can create and recognize patterns. I really believe any parent that wants to can teach their children at home. Especially at this age. No fancy preschool would ever be better for a child than one on one time with their parent learning. I know anyone can do this that sets there mind to it. This time spent with your children is so rewarding.